


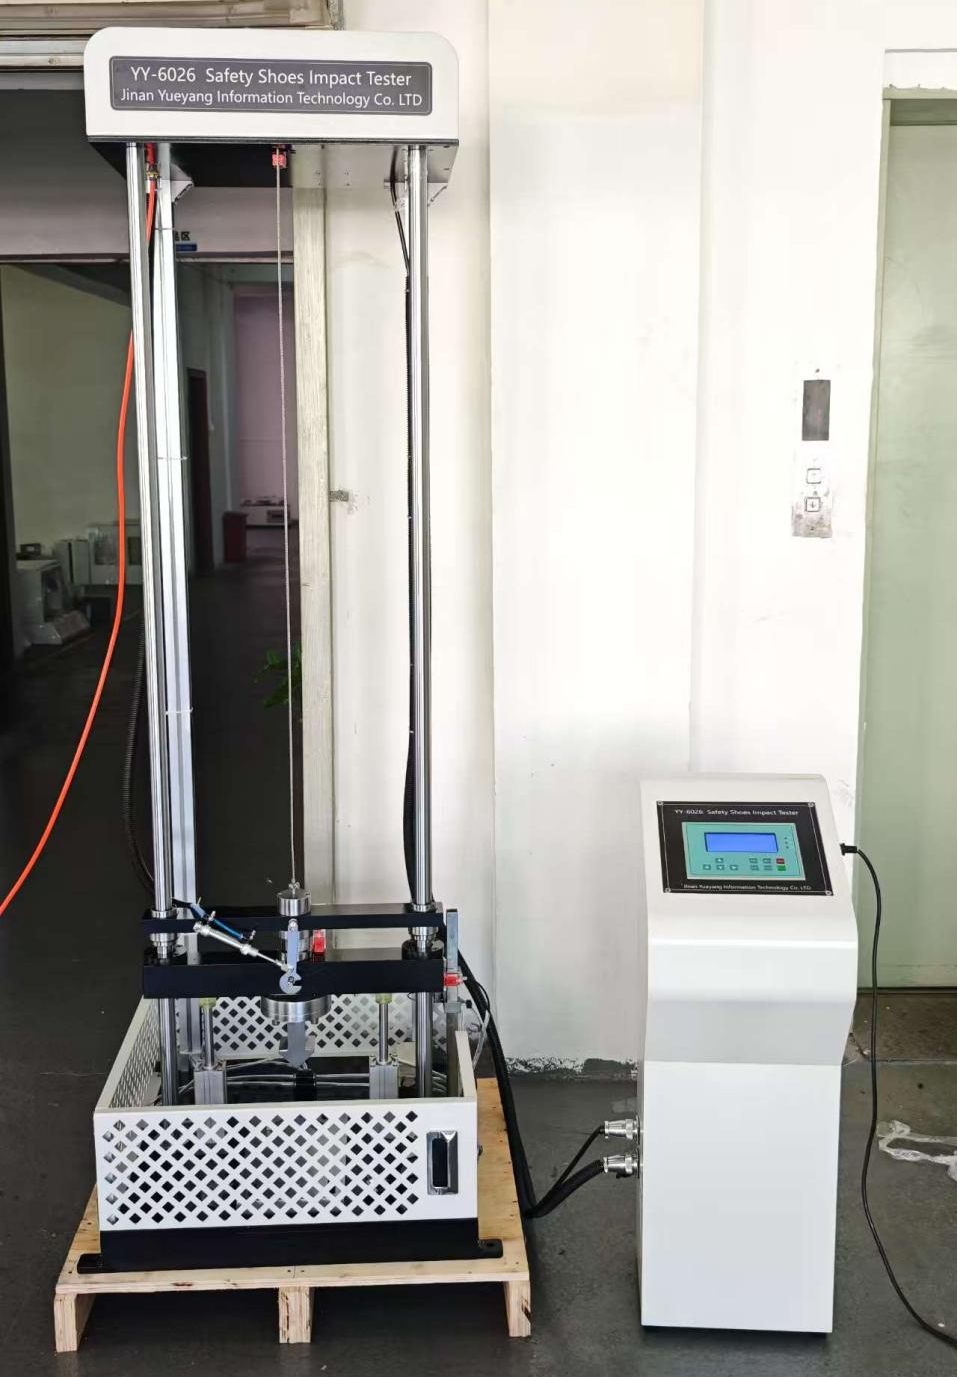
YY-6026 safety shoes impact tester can subject the shoe toe to a certain energy impact and measure the lowest height of the cylindrical rubber mud below to evaluate the impact resistance of the shoe toe cover and understand the safety quality of safety shoes. Here is the correct usage method of this instrument for you:
Preparation before the test:
1. Sample selection: Take one pair of untested shoes from each of three different sizes of shoes as samples.
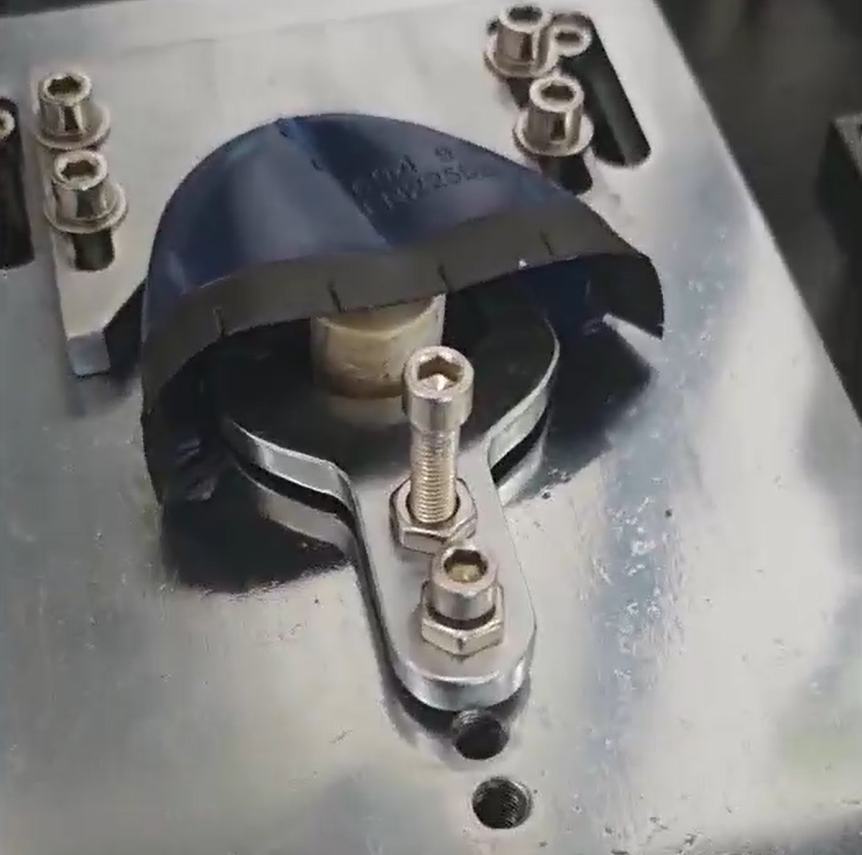
2. Determine the central axis: Locate the center axis of the shoes (refer to the standard materials for the drawing method), press down the shoe surface with your hand, find a point 20mm behind the rear edge of the steel head in the direction of the central axis, draw a marking line perpendicular to the central axis from this point. Use a utility knife to cut off (including the shoe sole and insole) the front part of the shoe at this marking line, then use a steel ruler to make a straight line corresponding to the central axis on the insole, which is the internal central axis of the shoe head.
3. Install fixtures and impact head: Install the fixtures and impact head according to the test requirements.
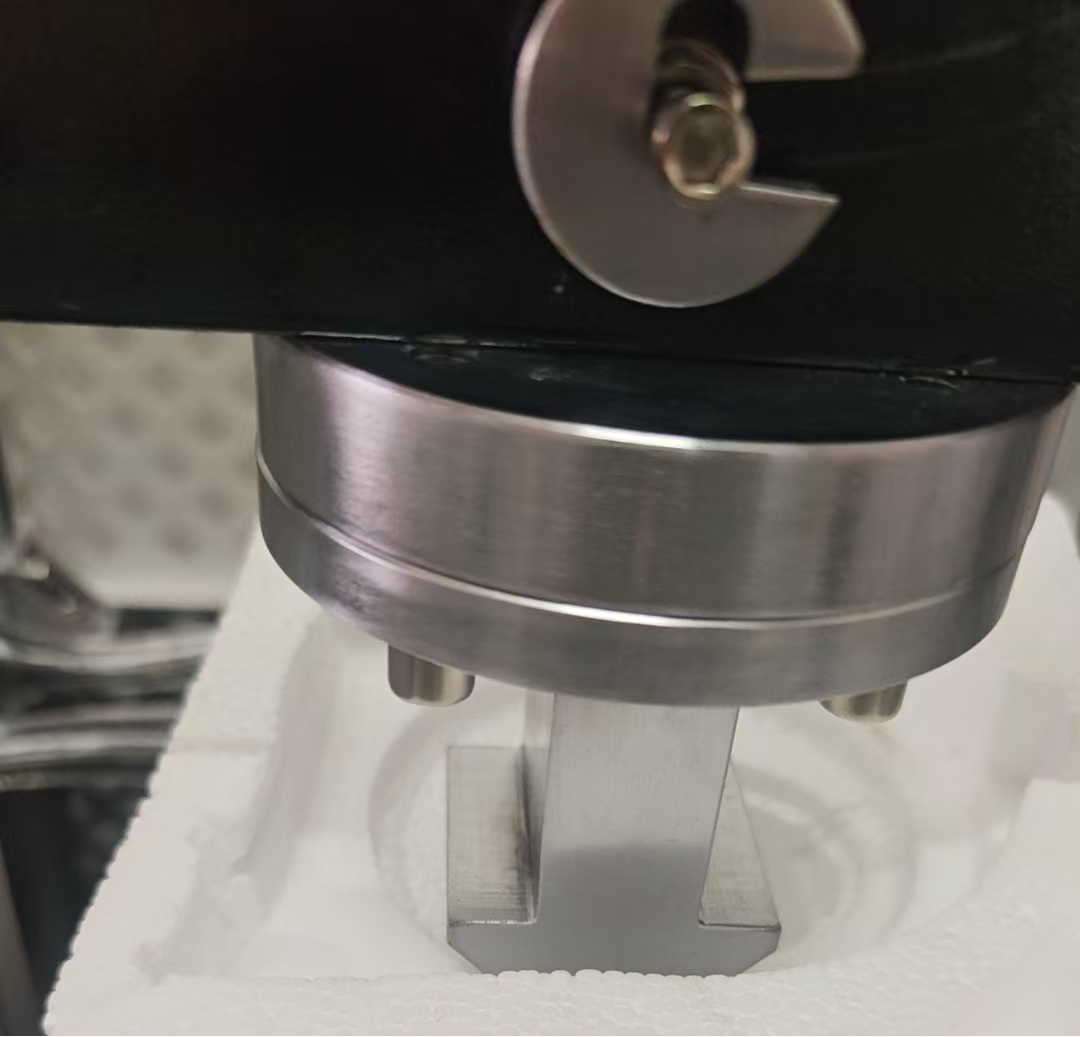
4. Prepare the cement column: For shoes of size 40 and below, make a cylindrical shape with a height of 20±2mm; for shoes of size 40 and above, make a cylindrical shape with a height of 25±2mm. Cover the upper and lower surfaces of the cylindrical cement with aluminum foil or other anti-stick materials, and make a mark on one side of the cement cylinder.
Test Procedure:
1. Place the clay: Place the center point of the cylindrical clay, covered with an aluminum foil sheet, on the central axis inside the shoe head, and advance it 1 cm forward from the front end.
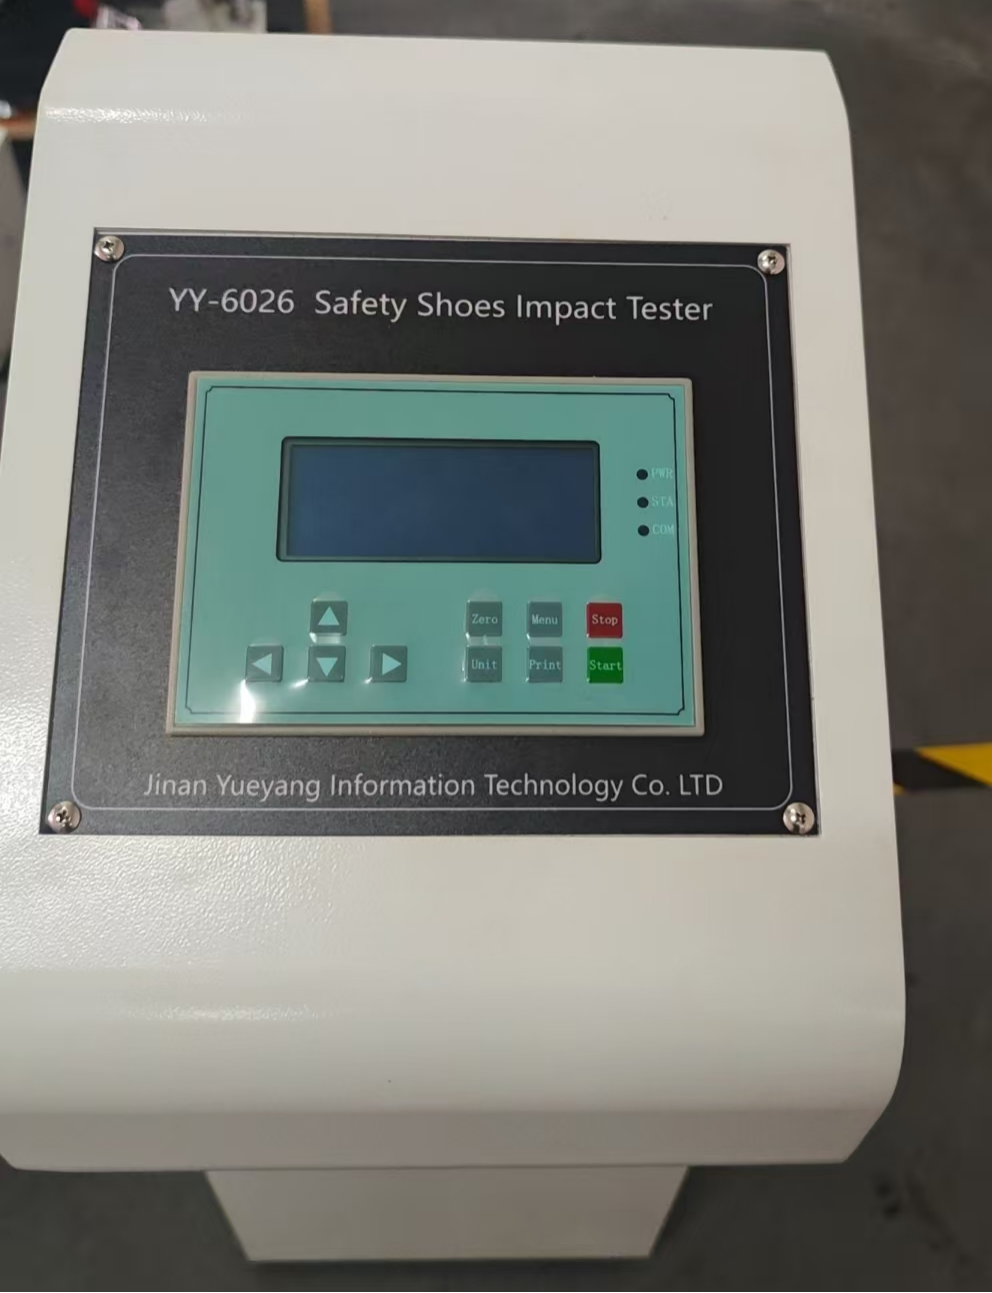
2. Adjust the height: Adjust the travel switch on the impact machine to make the impact head of the machine rise to the height required for the test (the height calculation method is described in the energy calculation section).
3. Rise the impact head: Press the rise button to make the lifting plate drive the impact head to rise to the lowest position that does not interfere with the installation. Then press the stop button.
4. Fix the shoe head: Place the shoe head with the glue cylinder on the base of the impact machine, and attach the fixture to tighten the screws that hold the shoe head in place.
5. Rise the impact head again: Press the rise button to the desired height for the impact.
6. Perform the impact: Open the safety hook, and simultaneously press the two release switches to allow the impact head to freely fall and impact the steel head. At the moment of rebound, the anti-repeated impact device will automatically push out two support columns to support the impact head and prevent a second impact.
7. Recycle the impact head: Press the descent button to make the lifting plate descend to the point where it can be hung on the impact head. Attach the safety hook and press the rise button to make the impact head rise to the appropriate height. At this time, the anti-repeated impact device will automatically retract the two support columns.
8. Measure the height of the glue: Remove the test piece and the cylindrical glue with an aluminum foil cover, measure the height of the glue, and this value is the minimum gap during the impact.
9. Repeat the test: Use the same method to test other samples.
Post time: Jul-02-2025